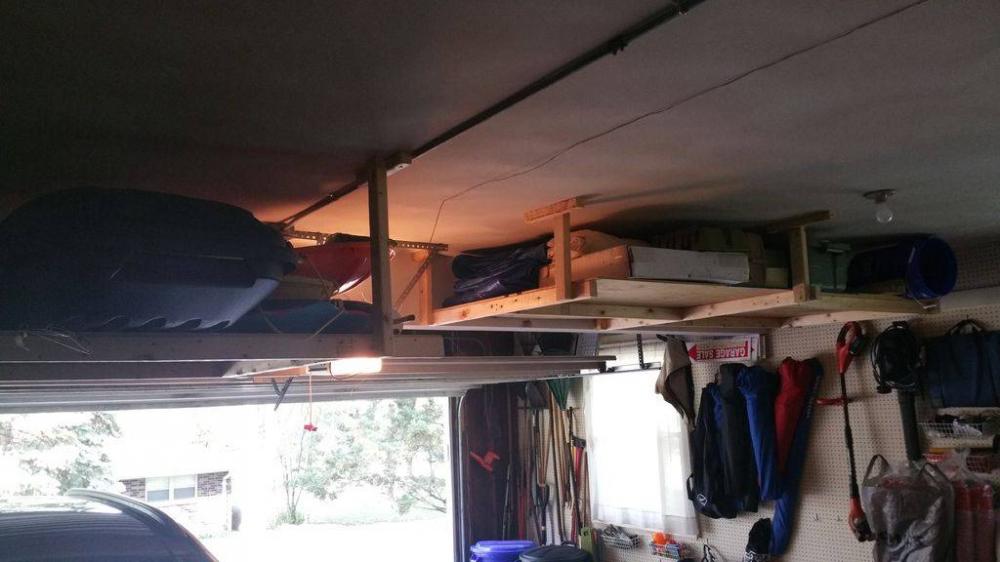
Make Some Extra DIY Storage Shelving in Your Garage

This DIY wood project for is a great idea to create some extra storage shelving in your garage.
Buying extra storage shelves and units can cost you anywhere from $50 to $350, so this fun wood project is something you can do on your own at a much lower cost. DIY wood projects are more popular than ever before. In recent years do it yourself projects have become more popular with the addition of step by step online video tutorials, where you can find everything from fixing your kitchen sink to building your own wood frame bed, and everything in between. Shop Tiny Homes Do it yourself projects and DIY wood projects are a great way to save money, building things to make out of wood you can't find at the store, and take on a project that you will enjoy and feel good about creating. Here, you'll learn how to make a very handy garage shelf that will go above your car at the ceiling level. In your garage, this is prime space to make use of and you can store sleds, skis, snowboards, garden tools and more up there.
To start this DIY wood project, you will first have to find your ceiling joists.
Using a stud finder, you'll want to locate the ceiling joists. When you find the ceiling joists, you can sink some cleats in them to support everything. For this DIY wood projects, three inch long screws were used along with a few pieces of 2 by 2's. Also used in this project are six cleats on each shelf. Next, you'll want to determine how far down the shelves should hang. For this project, they built one of the shelves is about 12 inches with the other being 21 inches down because that's what worked in the garage where it was built but you can make them any size that suits your garage and your storage needs.
Once you have your supports properly cut to length, you'll want to attach each to a cleat.
Next, you will need to build your bottom supports. Once you have the supports attached to the cleats, you'll need to cut your bottom support pieces. For this things to build with wood project two full four by eight sheets of plywood were used for the bottom, so all of the pieces were measured, so they were long enough to attach to the downward supports and not obstruct the plywood. Next step in this fun wood projects to build is adding the plywood base. Once you finish framing your base support, you'll need to put your plywood base on top of it. Because the base supports in this DIY wood projects were well spaced and very well secured, the thinnest lightest piece of plywood was used for the base. Then a few 1 1/4 inch general purpose screws were used to attach the plywood to the base. Before long you'll have a great storage shelf in your garage that you can use to store anything you like.
Photo Gallery


